
By Alexandra Savage
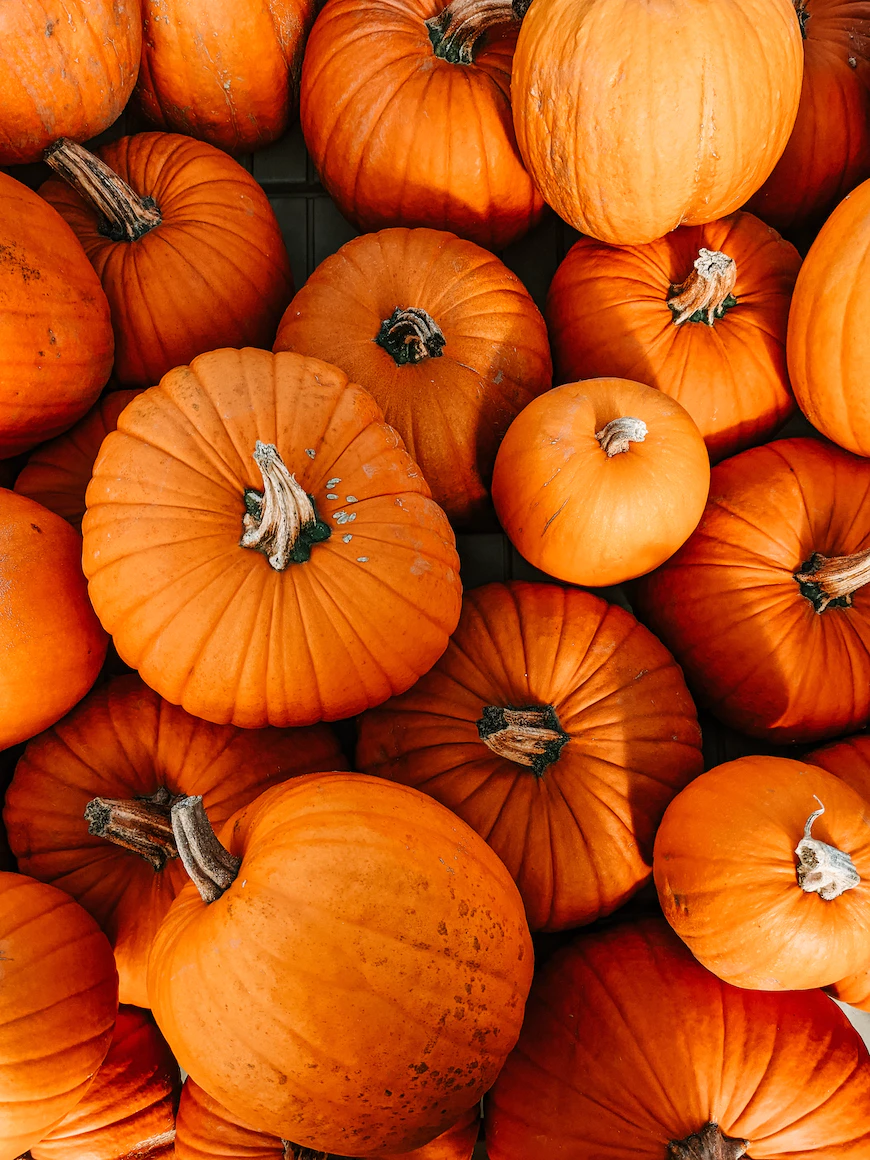
Despite my love of fall activities, I have never carved a pumpkin before. My lack of artistic know-how, combined with the hassle of finding a pumpkin and the ensuing mess of pumpkin flesh have prevented me from taking the leap. All of that changed when my friends and I had the chance to carve pumpkins during Halloweekend. Armed with a large orange pumpkin and a small carving knife, I was determined to create a passable design. Here is my guide for complete beginners to have a positive pumpkin-carving experience.
According to the Carnegie Museum of Natural History, Jack-o’-lanterns originated from Irish immigrants in the 1800s. In Ireland, the tradition was to carve turnips and potatoes to create lanterns to light the way for people celebrating Samhain, a Gaelic holiday marking the beginning of winter that involves going door-to-door (this eventually morphed into trick-or-treating). Once the Potato Famine forced many Irish people to immigrate to the US, they continued this tradition using pumpkins in the place of root vegetables. This tradition evolved into the current practice of pumpkin carving.

The first step in carving a pumpkin is to carve a hole in the top and pull off the stem. I stuck the knife into the pumpkin from a head-on angle so I would have a solid grip. I recommend wearing short sleeves when carving a pumpkin, as long sleeves will stain with pumpkin juice.

My friends warned me to leave enough space to be able to fit my arm inside the pumpkin, or else I would have to carve a second hole and I wouldn’t be able to put the top back on. After carving around the stem, I pulled off the top of the pumpkin.

Then, I put on a pair of rubber gloves. I recommend having a few pairs ready to go. I used my hands to pull all of the flesh out of the pumpkin. Then, I made sure to place the seeds in a separate bowl so we could cook them later. I was surprised at the amount of flesh in the pumpkin, and found separating the seeds to be quite difficult and time-consuming.

Once I managed to pull everything out of the pumpkin, I used a scraper to make the inside of the pumpkin as smooth as possible.

One thing I didn’t do that I would recommend is using a pen to draw the design on the pumpkin before carving. I decided to free-hand my carving. Since I dressed up as a vampire for Halloween, I carved a vampire pumpkin. I found that the pumpkin had a thick shell, so I needed to poke around to get the knife all the way through the pumpkin. Despite a little asymmetry, I was happy with my end result.

After carving the pumpkin, it’s important to clean off the exterior, which I forgot to do. As a result, my pumpkin looks a little flaky. Although this is difficult to pull off on an urban college campus, placing a candle inside of the pumpkin will give it a spooky appearance. I recommend using a fake tea candle or flashlight instead– especially if you live in a residence hall!
In the end, carving a pumpkin was easier than I thought. My biggest recommendation is to choose a simple design, such as a face. Once you have more experience, you can move on to more complex designs. Another option is to buy a stencil, which you can use to trace and carve intricate patterns on the pumpkin. I will definitely be carving another pumpkin next year – this time, with a little more confidence.