
By Mallory McGovern
If you’re anything like me, you spend way too much time on TikTok. But in between watching people turn the saddest Mitski song you’ve ever heard into the latest dance trend, TikTok is a great source for sourcing your next DIY project. Inspired by this tutorial, I made my own squiggle mirror, based on Lotta Blobs sold-out design.
1. Collect Your Supplies
The great thing about this project is its relatively few materials, all either found in your home or at your local craft store. I visited the Blick art supplies store in McPherson Square, only a short metro ride or walk away from campus. From your craft store, you’ll need acrylic paint in the color of your choice and a paintbrush, a glass craft mirror in your desired shape, superglue (or a hot glue gun), and clay. If you don’t have a pencil and parchment paper at home, make sure to grab some while you’re out.

2. Roll Your Clay
Take your mirror and trace an outline on a piece of parchment paper. This will keep the clay from sticking to your baking tray later on. To make sure your clay keeps its shape, I’d recommend polymer clay. I started out with air dry clay, and well, the broken pieces speak for themselves. I chose the Sculpey III clay, a beginner’s clay that can bake in your oven. Start with a decent amount of clay—remember you’re going to need to create a line longer than your mirror to alloy for bends. After rolling your clay in a ball, roll out your clay into a long rope. The clay should be between ½ inch and an inch in height. From there, join the ends of your clay rope (you might need to add some extra clay to get it the right width). Now for the fun part—the squiggles! Place your clay loop on top of your mirror tracing and bend the clay to your liking.


3. Get Baked
Double-check your clay to make sure it’s not only in the shape you want but is free of any bumps or scratches. Polymer clay loosens to heat, so smoothing your fingers along your sculpture should do the trick. Next, set your oven to 275° F. This isn’t a 24-count of pre-cut cookie dough, so make sure you wait until the oven is fully heated. Place your clay in the oven, checking in 15-minute intervals. Your clay should bake for 15 minutes for every ¼ inch of thickness. I baked mine for around 45-50 minutes. Err on the side of overbaking.

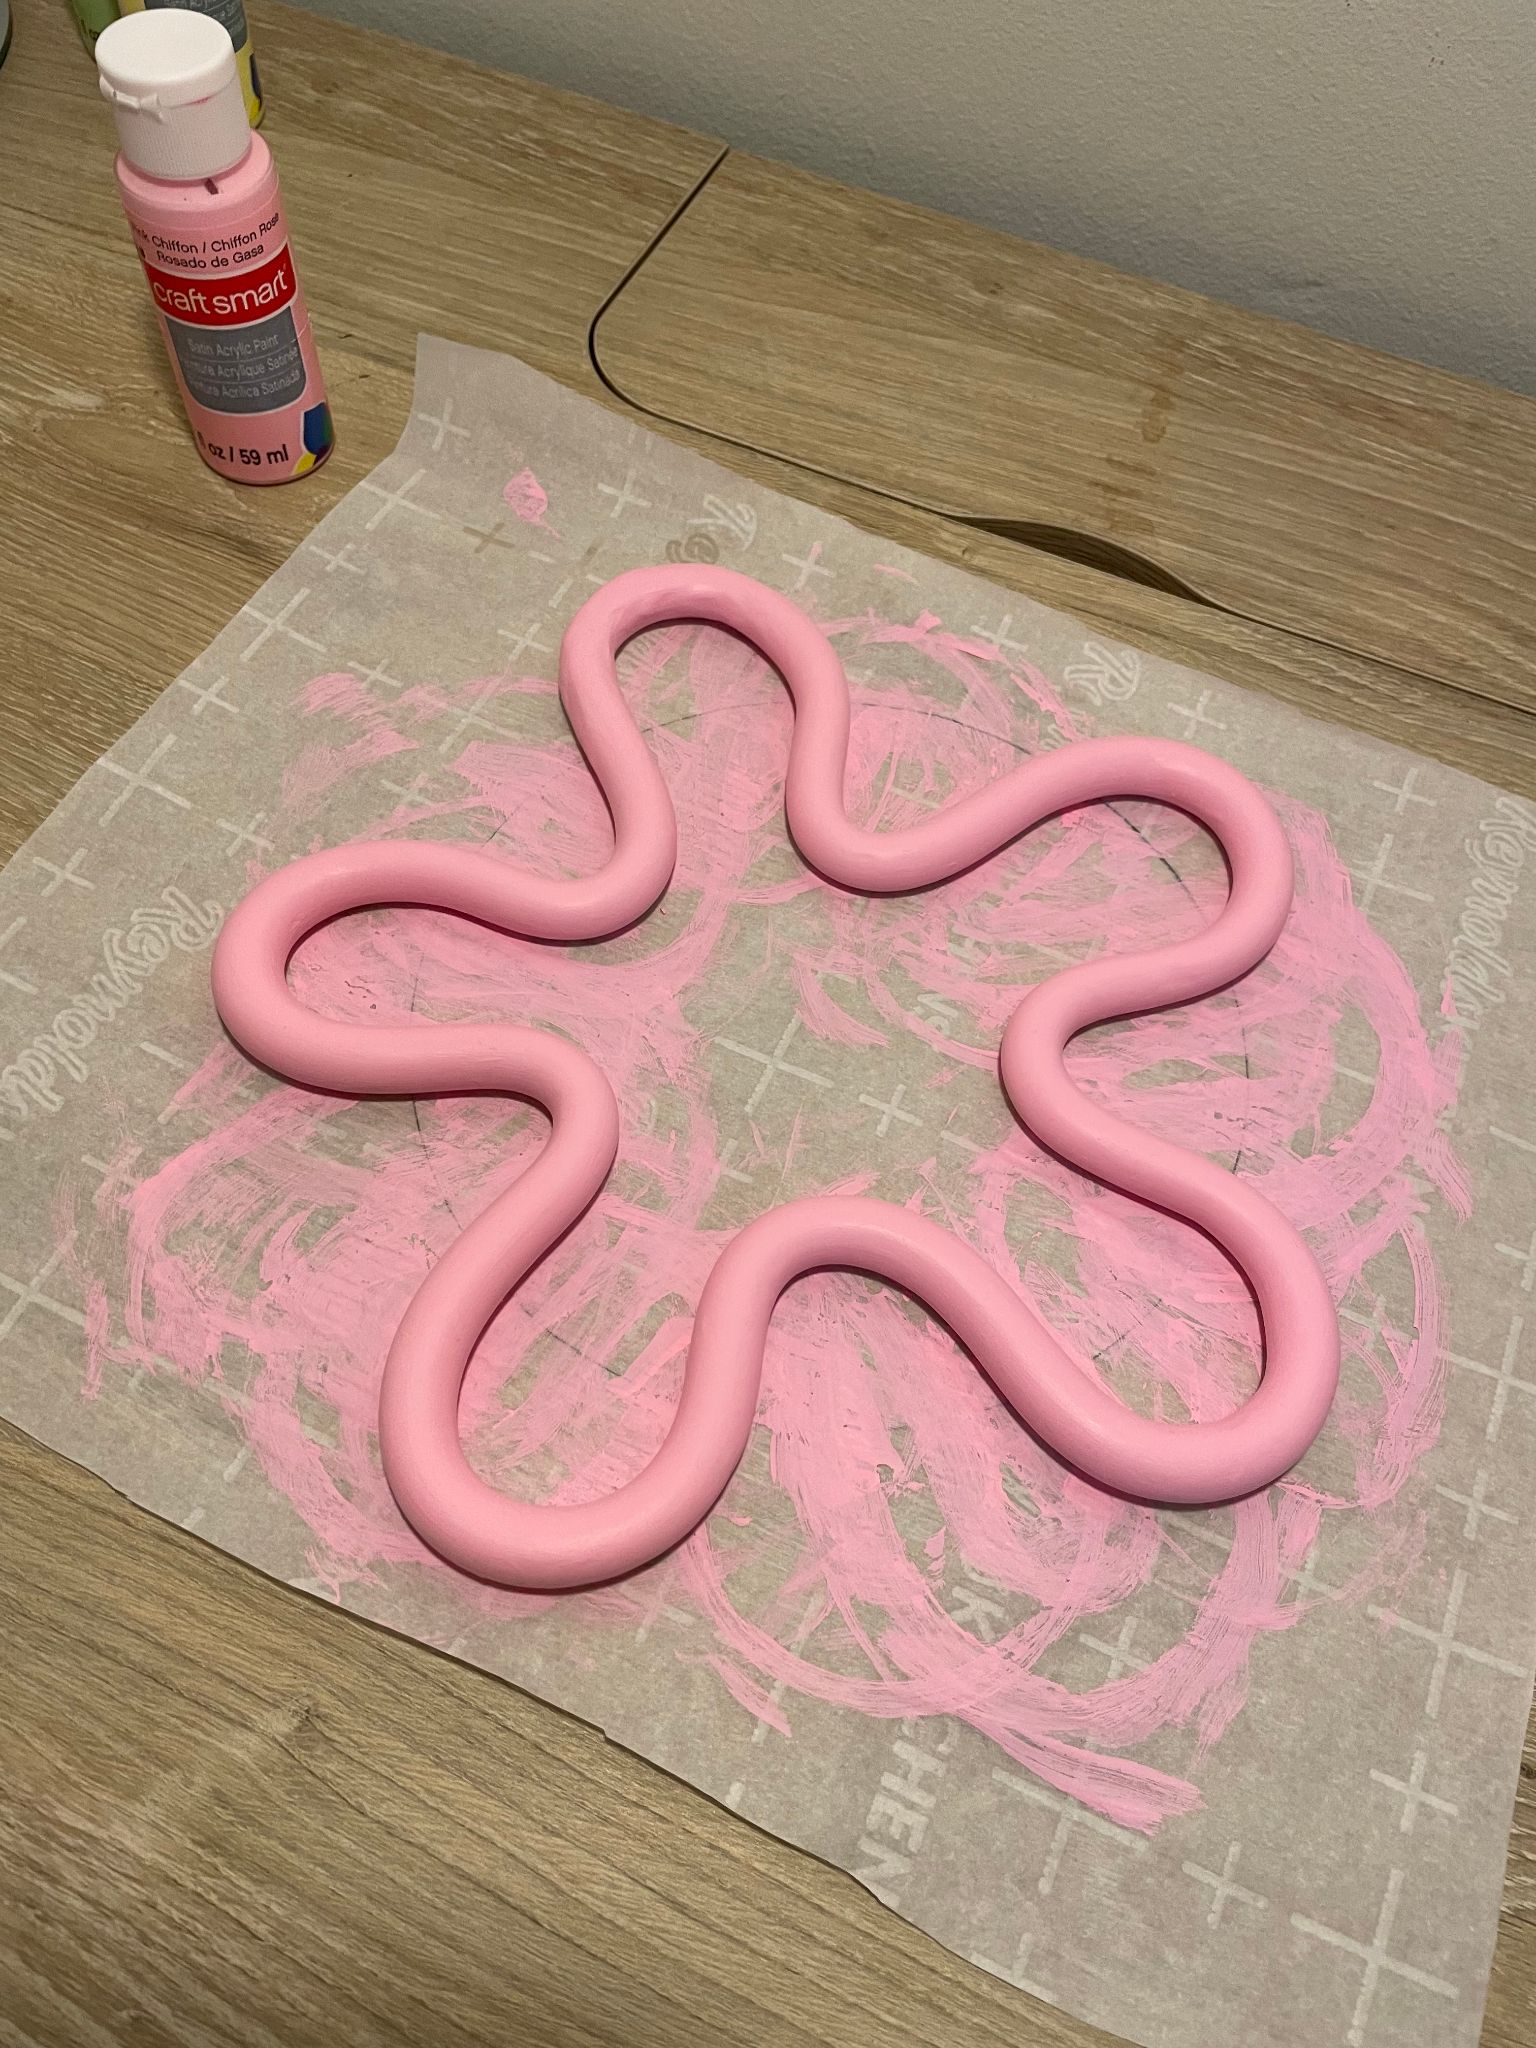
4. Painting and Gluing
Once your piece is fully cooled, you’re ready to paint. I chose a light pink for my piece, so it took several coats to keep the white clay from showing through. If you want to skip this portion of the project, Sculpey also offers a variety of colored polymer clay that you can use at the outset. Once your piece is dry, get out your mirror and place your blob on top. If you’re as nervous about the permanence of superglue as I am, mark the bottom of your sculpture with a pencil to mark where you’ll want your glue. Line the overlapping pieces with a thin strip of glue, gently attach the pieces, and violà!
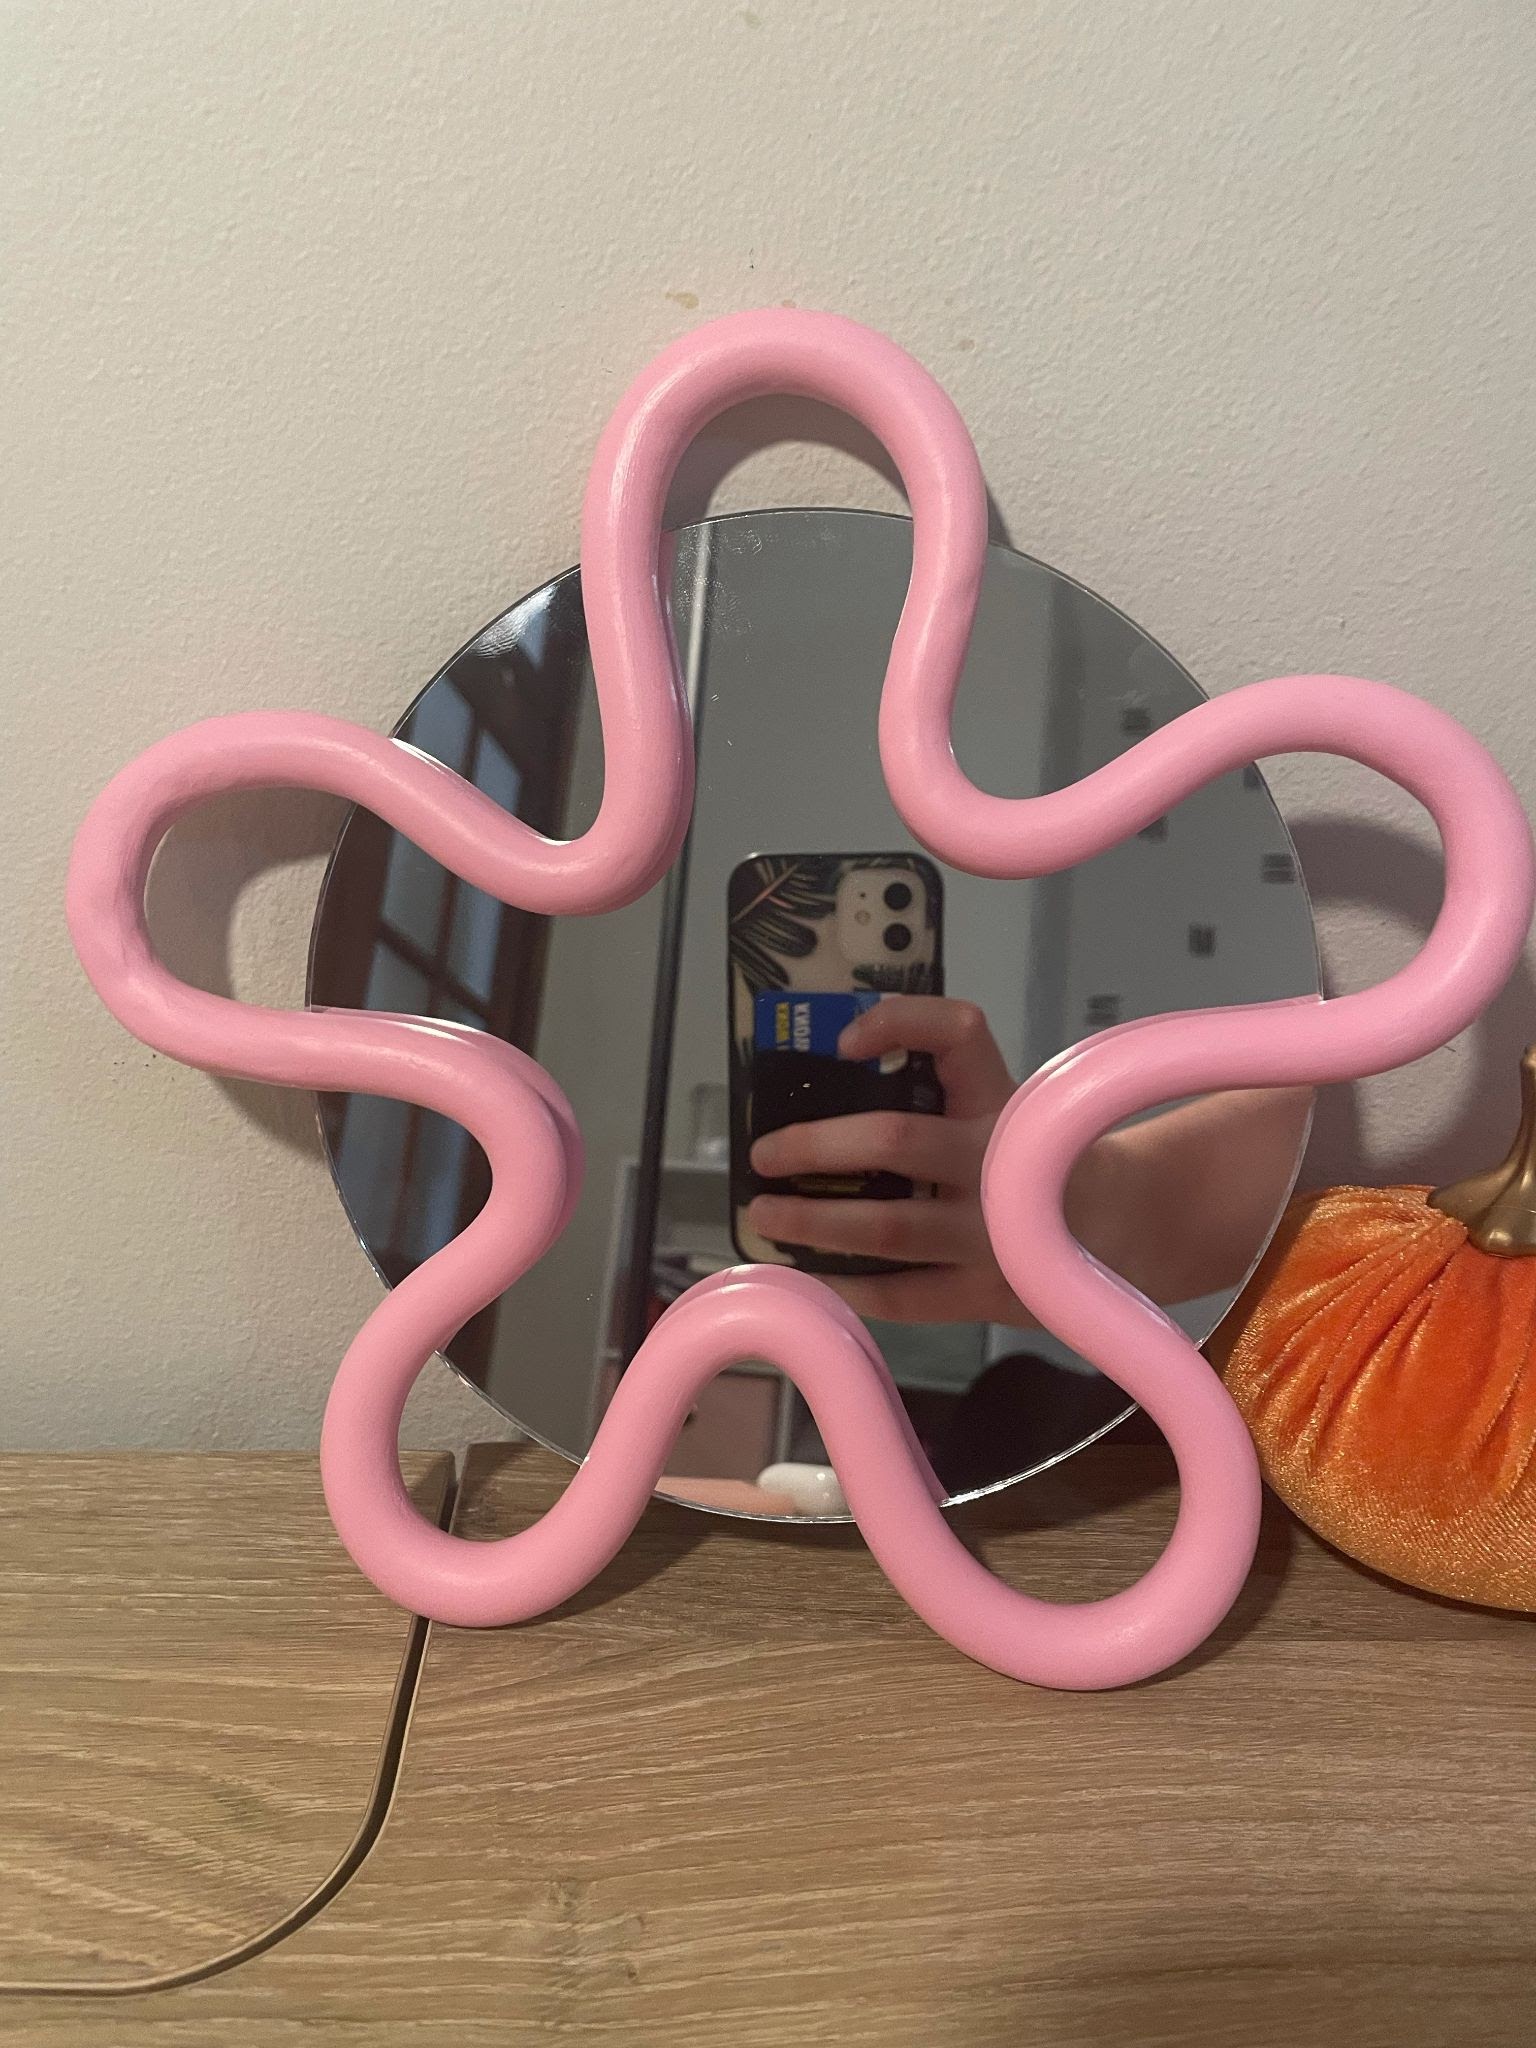
5. Look at Your Beautiful Face
Mirror, mirror on the wall, who is the fairest DIY-er of them all? Celebrate your success by taking lots of artistic selfies to show off your crafting prowess, and get to work on your next masterpiece! The kitchen could definitely use a cool mirror…right?
